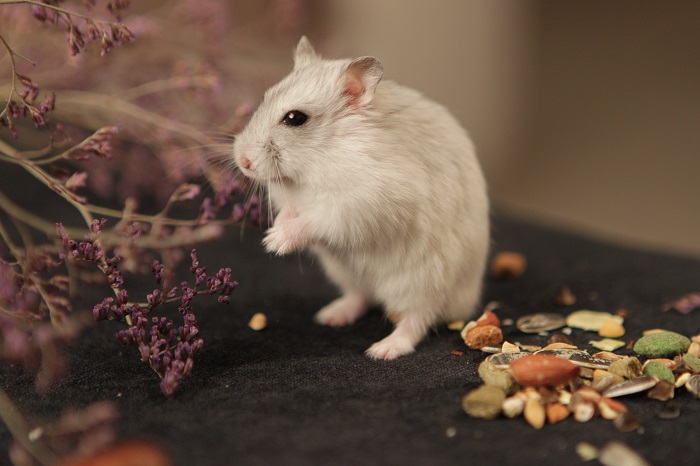
If you want to make sure your wooden hamster cage stays in great shape and doesn’t get ruined by spills or water leaks, painting it with waterproof paint is a smart move.

Guide
Here’s a step-by-step guide on how to do it:
What You’ll Need
Waterproof paint that’s safe for your furry friend’s cage
Paintbrushes (different sizes)
Sandpaper
A drop cloth or old newspapers
Painter’s tape
A space where you won’t mind a little mess
Safety goggles and a mask (optional but good for extra protection)
Get the Right Paint
Start by picking up some waterproof paint that’s safe for small pet homes, like your hamster’s crib. Look for water-based and non-toxic paint designed for pet habitats. These kinds of paints won’t harm your hamster or stink up the place with bad fumes.
Set Up Your Painting Space
Find a spot where you can paint without worrying about fumes filling the room. Your garage or an outdoor area works well.
Lay down an old sheet or some newspapers to catch any paint drips and protect your workspace.
Take Out the Extras
Remove any stuff from the cage, like water bottles, food dishes, or toys. This makes it easier to paint the inside.
Sand the cage
Use sandpaper to gently sand the whole wooden surface of the cage. This smooths things out and helps the paint stick better. It also gets rid of any rough patches or old finishes.
After sanding, wipe the cage down with a damp cloth to get rid of dust and dirt.
Mask off areas
Grab some painter’s tape and cover up any parts of the cage that you don’t want to paint, like the mesh openings, handles, or edges.
Make sure the tape sticks well so paint won’t sneak underneath.
Start Painting
Dip your brush into waterproof paint and start painting the wooden parts of the cage.
Do it with smooth, even strokes that follow the wood grain. Don’t slap on too much paint, though, or it might drip and look weird.
Let It Dry
Check the paint can for how long it takes to dry between coats. You’ll usually need to wait a few hours for the first coat to be ready.
Add More Coats
Put on a second coat of paint, and maybe even a third one. Let each coat dry fully before adding the next.
More coats mean better protection against water and wear and tear.
Take Off the Tape and Put Things Back
Once the last coat is dry, carefully remove the painter’s tape.
Put all the stuff back in the cage, like the water bottle, food dish, and any toys or hideouts you took out.
Give It Some Time
Let your newly painted cage sit for a bit to make sure the paint has completely dried and any lingering paint smells have cleared out. Leave it in a well-ventilated area for a day or two.
Welcome Your Hamster Back
After you’re sure the cage is fully dry and there’s no more paint smell, you can put your hamster back in their newly waterproofed home.

Conclusion
Following these steps will help you waterproof your wooden hamster cage, keeping it in tip-top shape and making sure your hamster stays comfy and dry.
 George